 Short guide · Crafts
Magic foam sword
A light, safe sword made from puzzle foam mats, a balsa stick, aluminum foil and holographic paper.
Materials
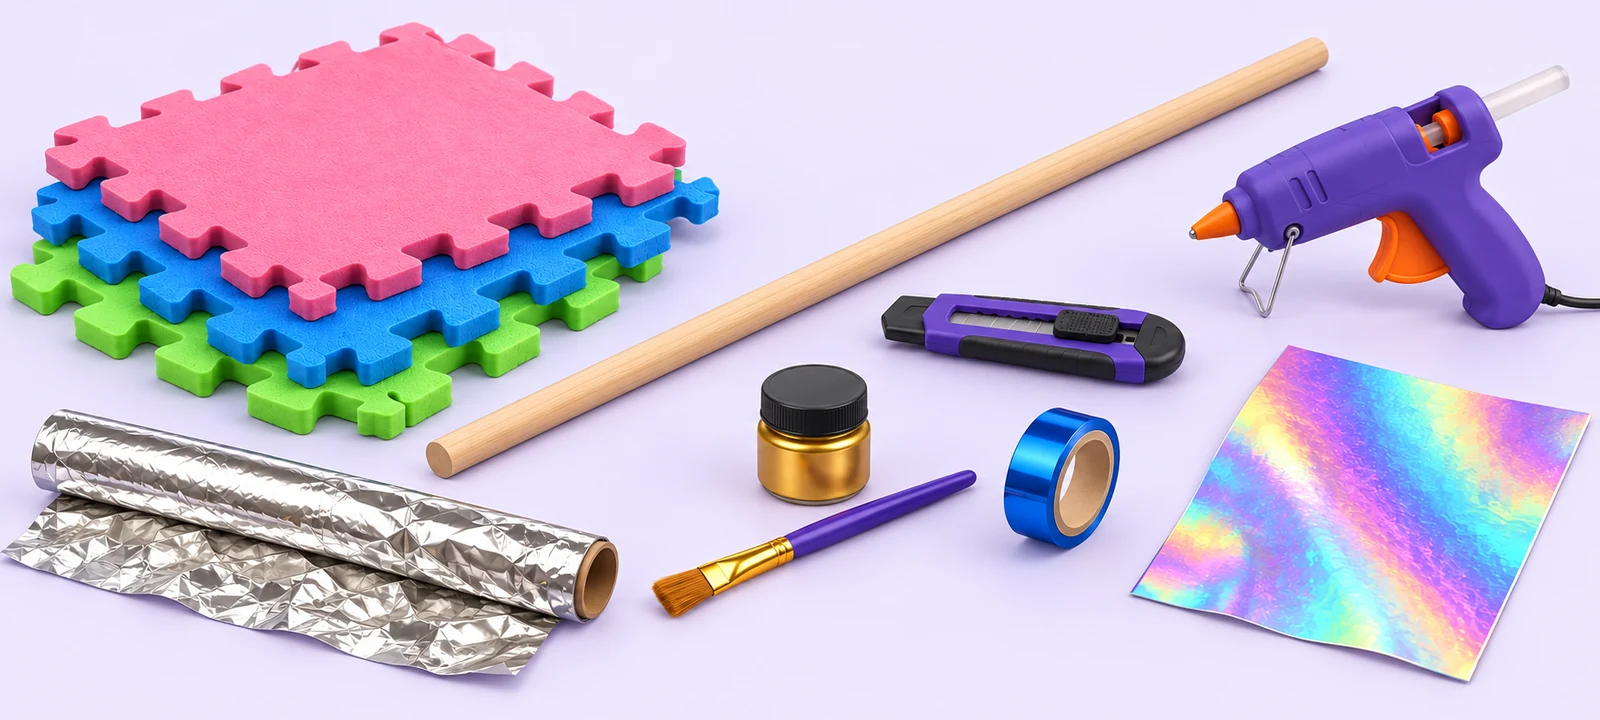
- Puzzle foam mats (EVA) in pink, blue and green
- A balsa stick 1.5–2 cm thick, as long as the sword
- Hot glue gun and glue sticks
- Craft knife, ruler and pencil
- Aluminum foil
- Masking tape
- Gold acrylic paint and a brush
- Blue metallic tape
- Holographic paper
- A sheet of paper or newspaper to protect the blade while painting
Step 1 of 7
Gather your materials
Kids' floor puzzle mats are perfect: firm, light and soft if someone gets bonked. The balsa stick is the sword's “skeleton”, so it should run from the blade tip to the end of the handle.
💡 If the mat is shorter than the blade, glue two pieces of foam end to end; the foil will hide the seam.
Step 2 of 7
Trace and cut the pieces
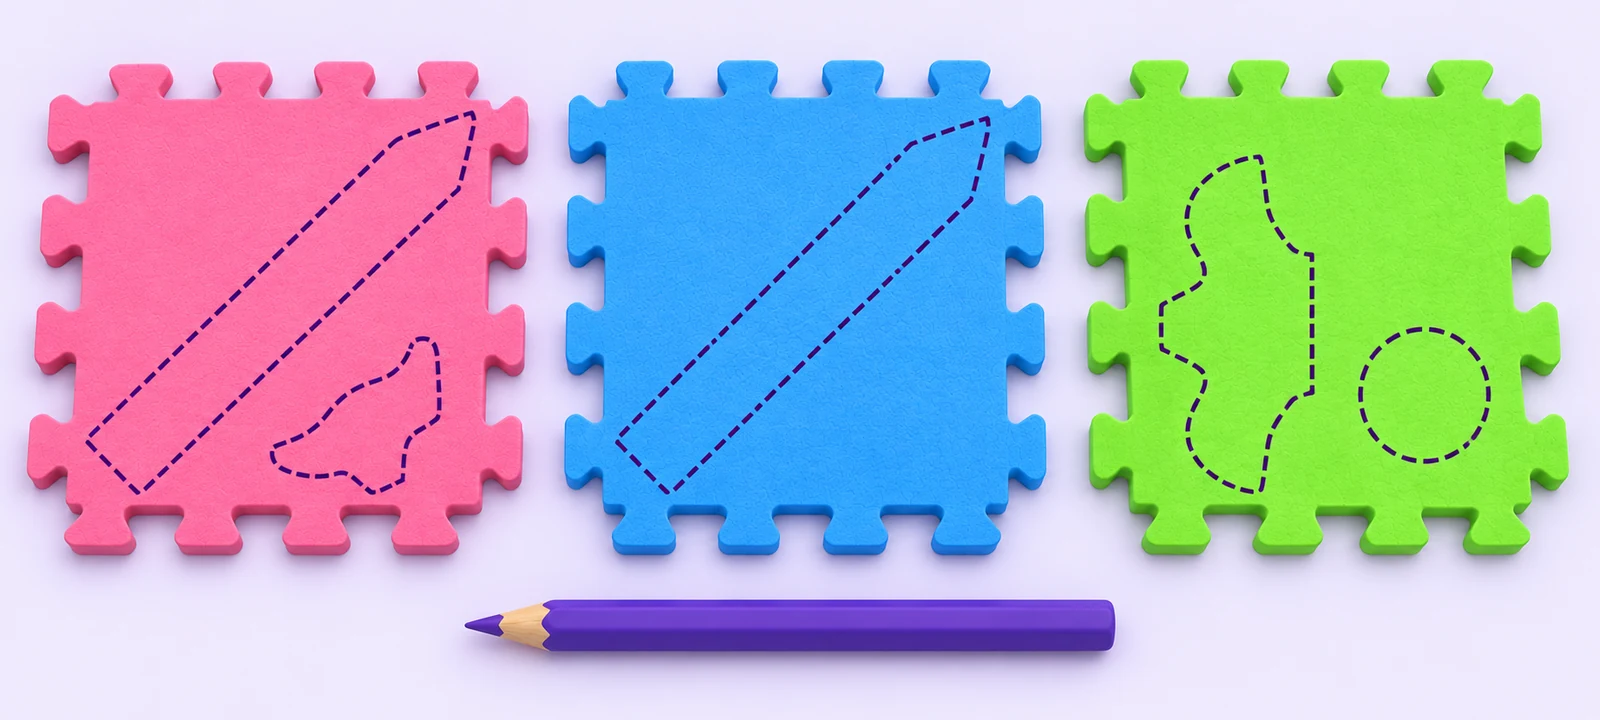
Draw two matching strips for the blade on the foam (one pink, one blue — for example 60 × 8 cm) with an arrow-shaped tip. For the crossguard, draw a wing-shaped piece in green and a slightly smaller one in pink. Cut with several gentle passes of the knife instead of one hard cut.
💡 Trim off the puzzle edges before tracing so you get straight sides.
Step 3 of 7
Make the stick sandwich
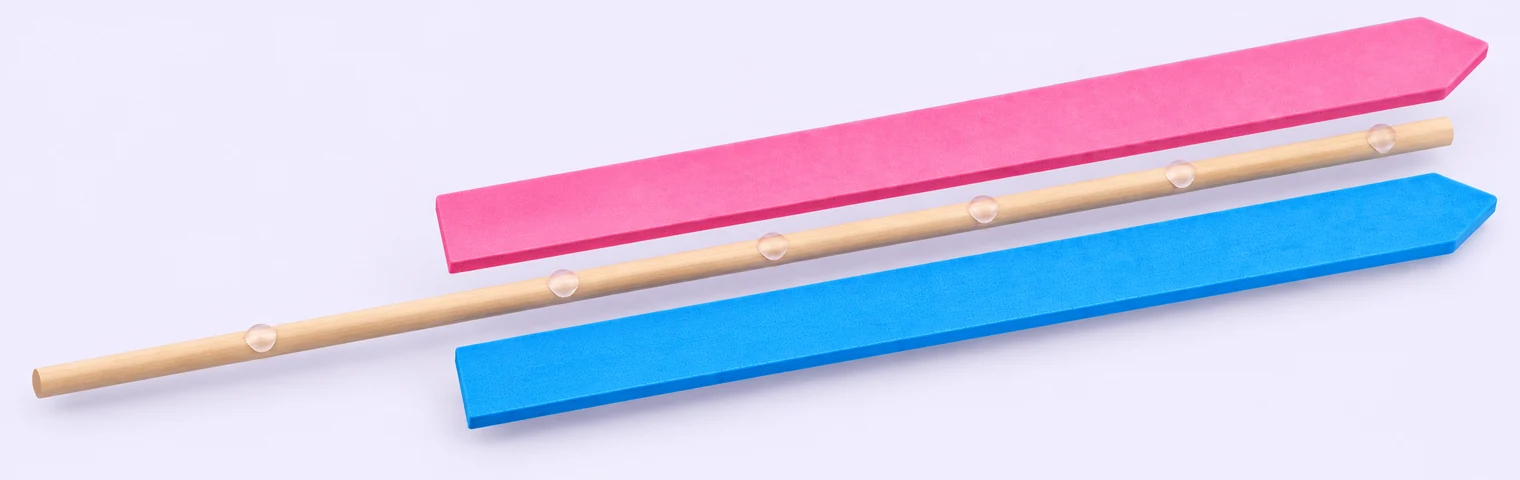
Add dots of hot glue along the balsa stick and press the blue strip on. Flip it and glue the pink strip on top like a sandwich, so the stick hides in the middle. Leave about 22–25 cm of stick sticking out for the handle.
Step 4 of 7
Crossguard, grip and pommel
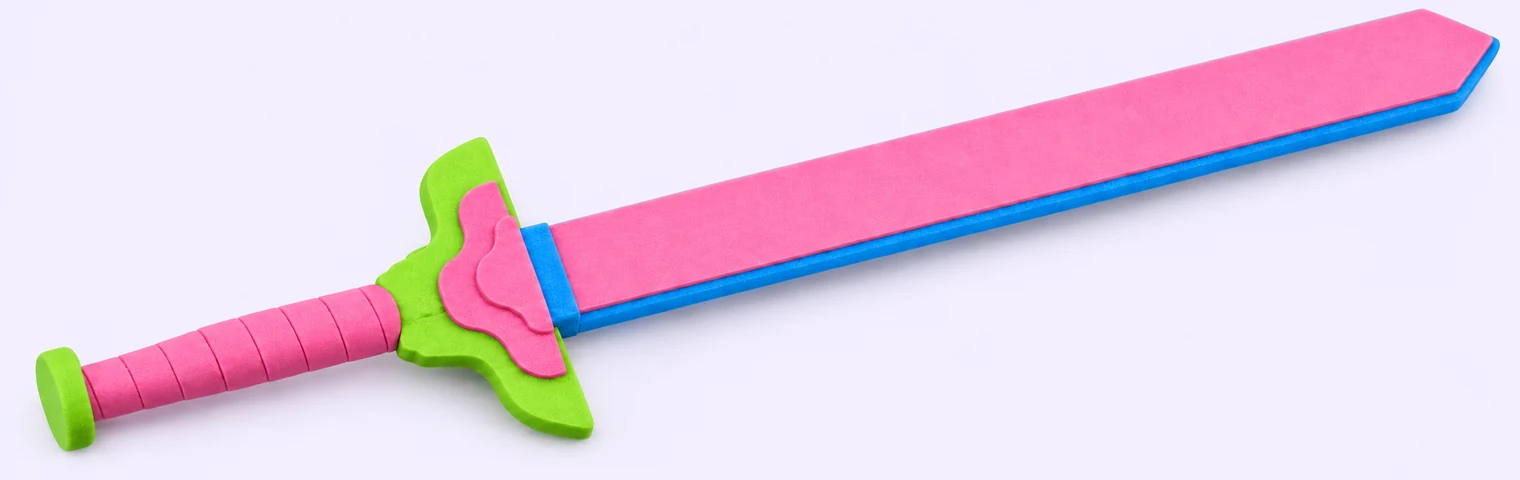
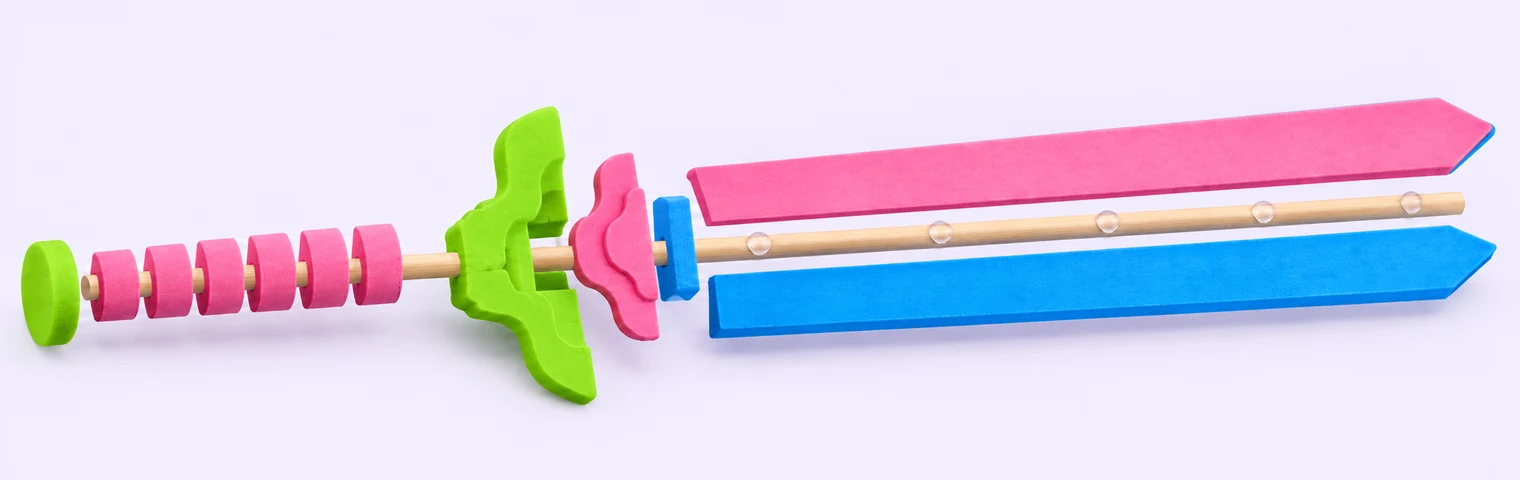
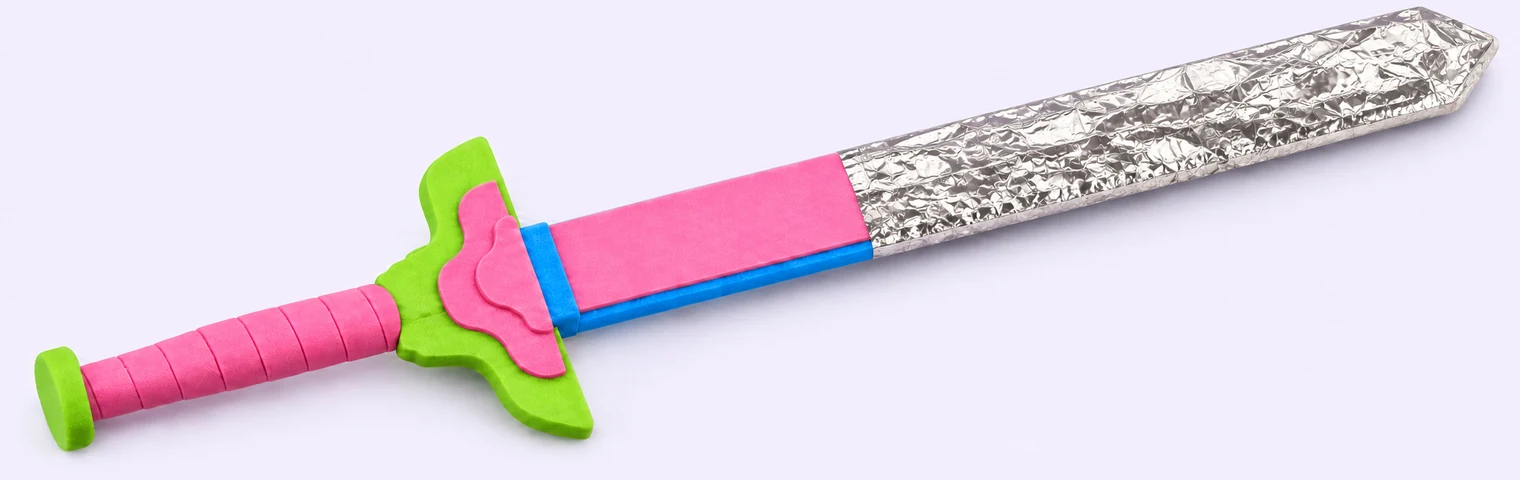
Cut a slot in the middle of the crossguard pieces, slide them onto the stick and glue them against the base of the blade (green behind, pink in front, so the layers show). Wrap the handle with thin foam strips or tape until it feels comfy to hold, and finish with a green foam disc as the pommel. This is the sword in pink and blue foam, before the foil.
💡 Carve soft details into the crossguard with the knife tip; under gold paint they look like engraved metal.
Step 5 of 7
Wrap the blade in foil
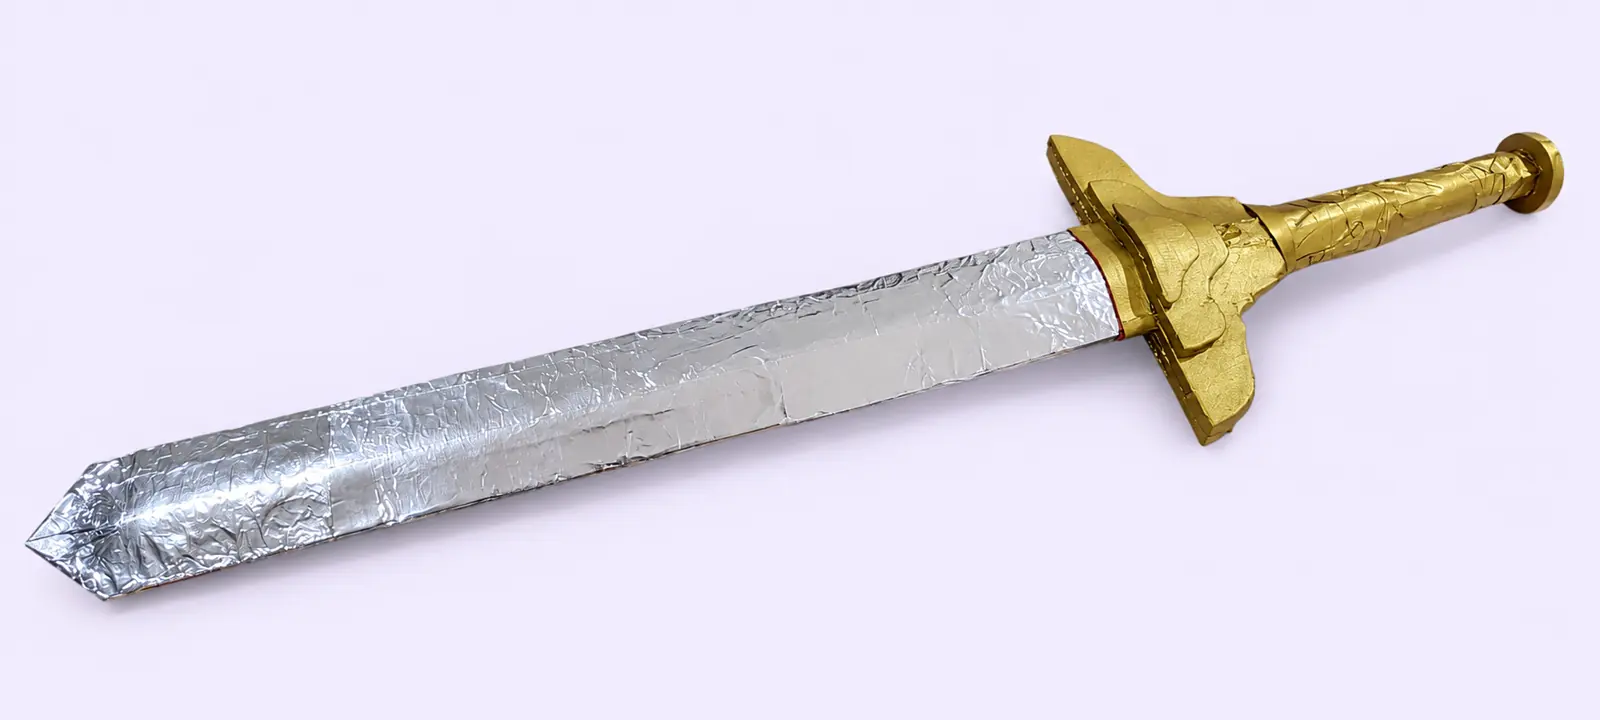
Cover the blade with aluminum foil, smoothing it with your hands and folding the tip neatly. Secure the edges with tape or a little hot glue. Wrinkles are fine — they look like hammered metal.
Step 6 of 7
Paint the hilt gold
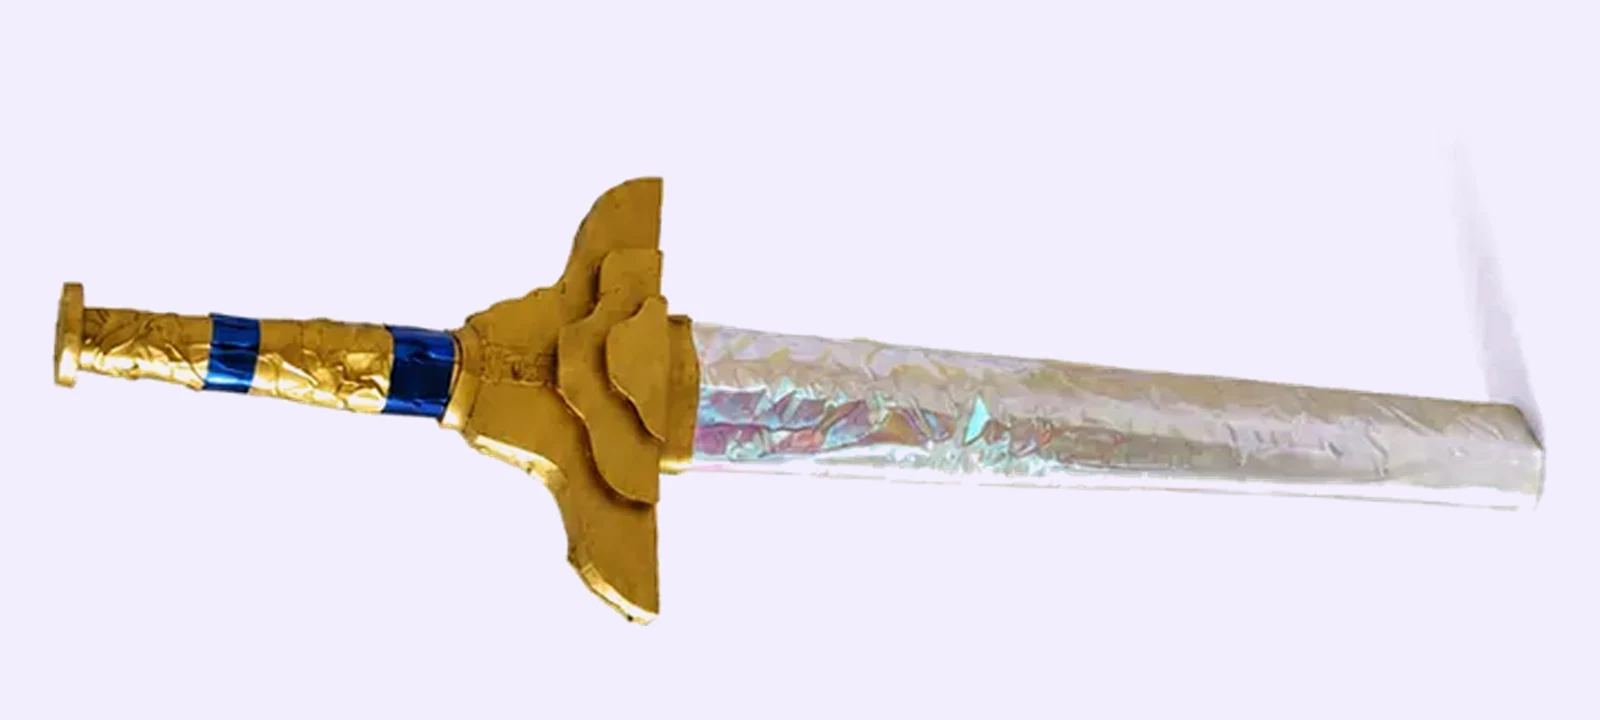
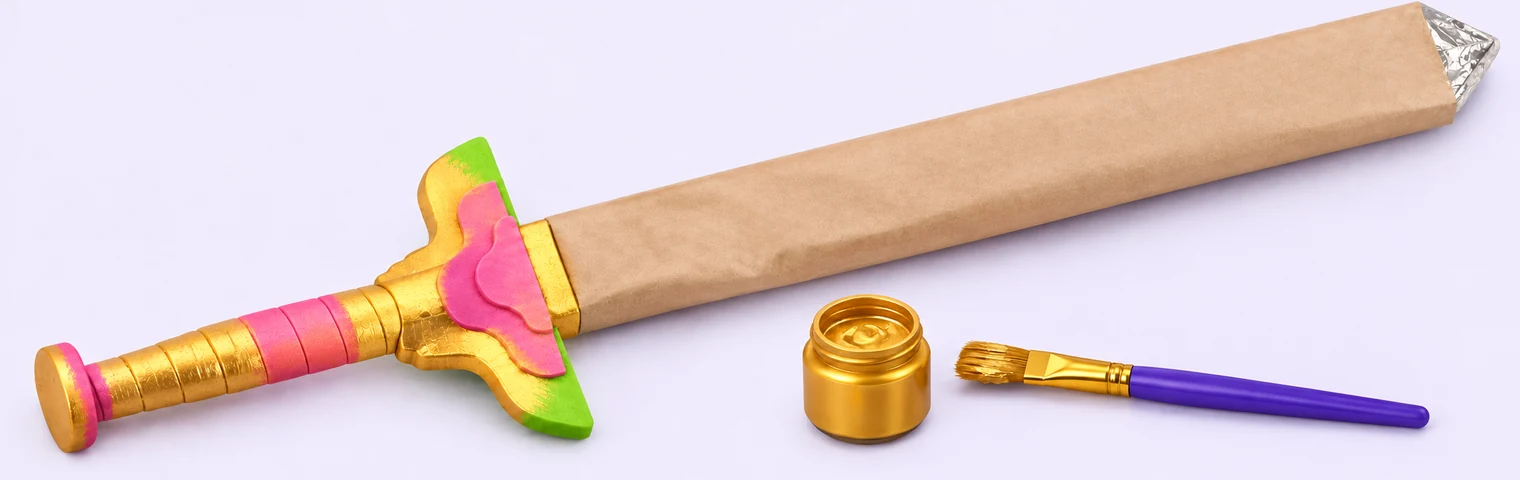
Wrap the blade in paper and tape so it stays clean. Paint the crossguard, grip and pommel gold: 2–3 thin coats, letting each one dry. Once dry, add two bands of blue metallic tape around the grip.
💡 This is the little ones' favorite part — let them paint!
Step 7 of 7
Add the magic shine
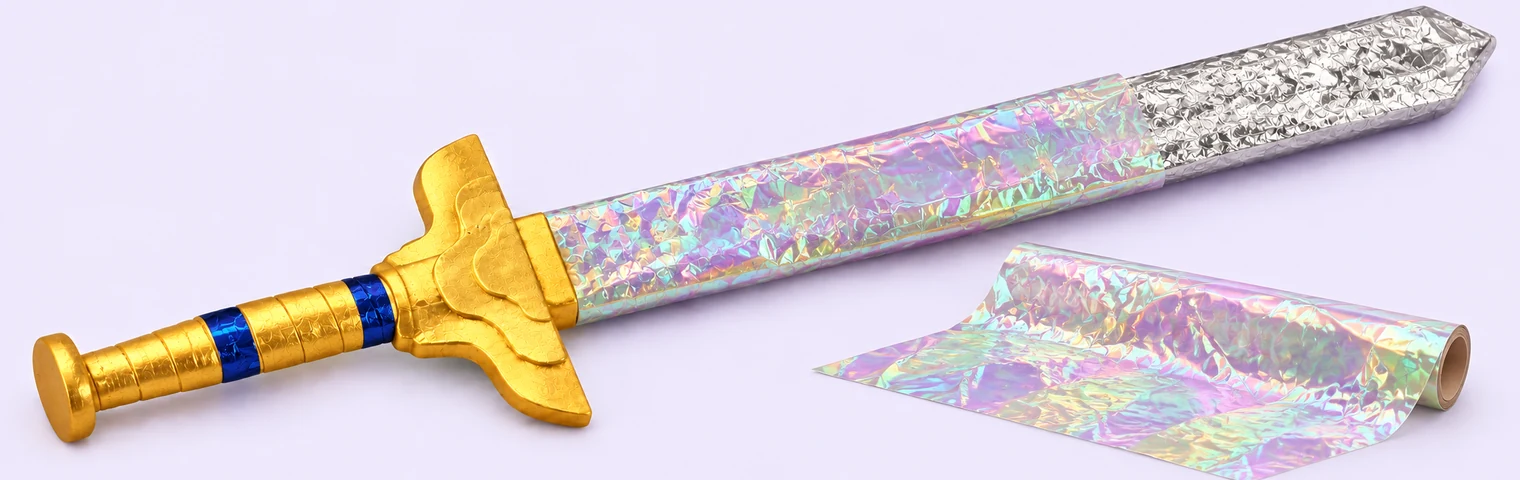
Remove the protective paper and cover the foil with holographic paper, taping or gluing it along the edges. In the light it shifts from pink to blue and green, like an enchanted blade.
Ready for adventure!
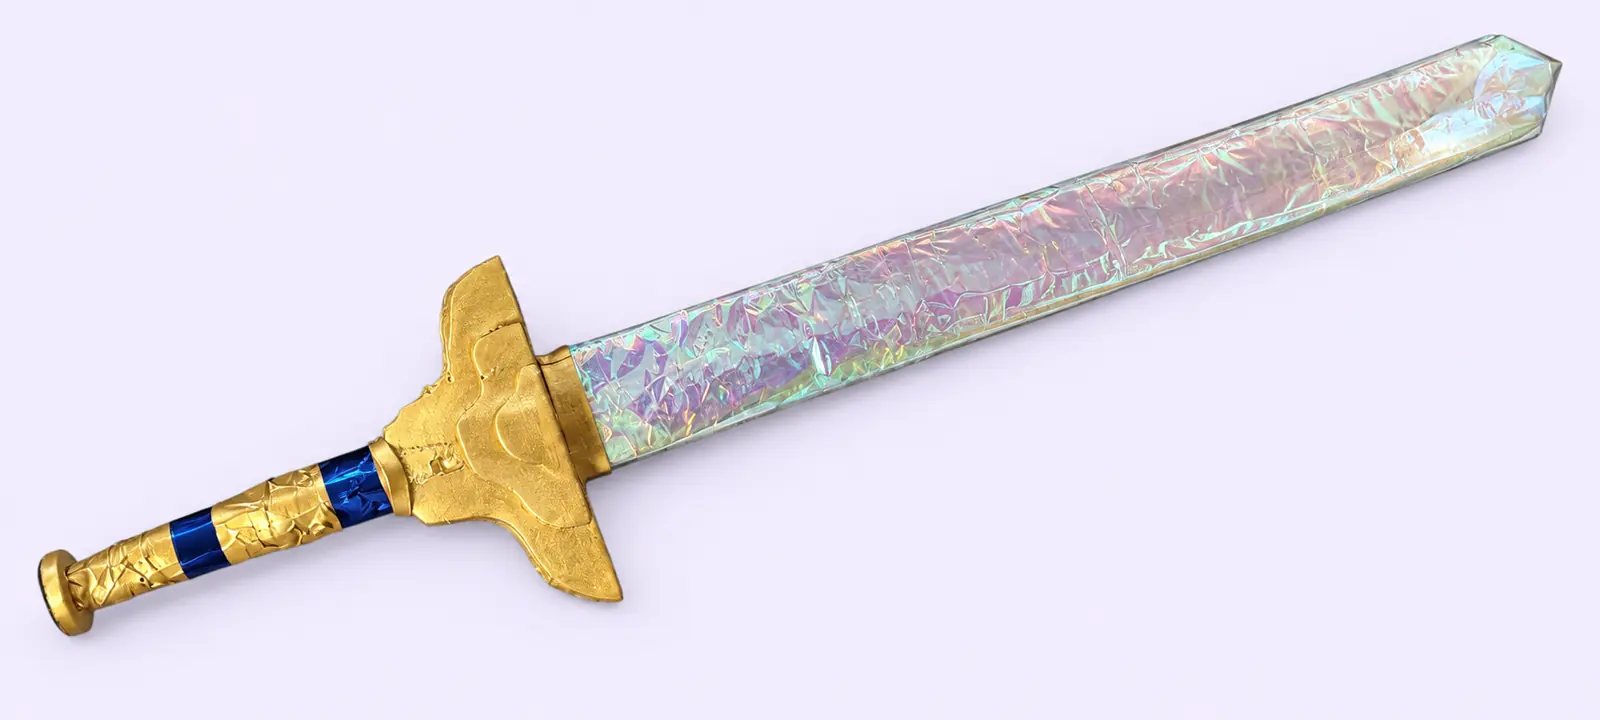
Here's our finished sword: gold crossguard and grip, blue bands and a holographic blade that sparkles in the light.