 Short guide · Crafts
Derpy the blue tiger piñata
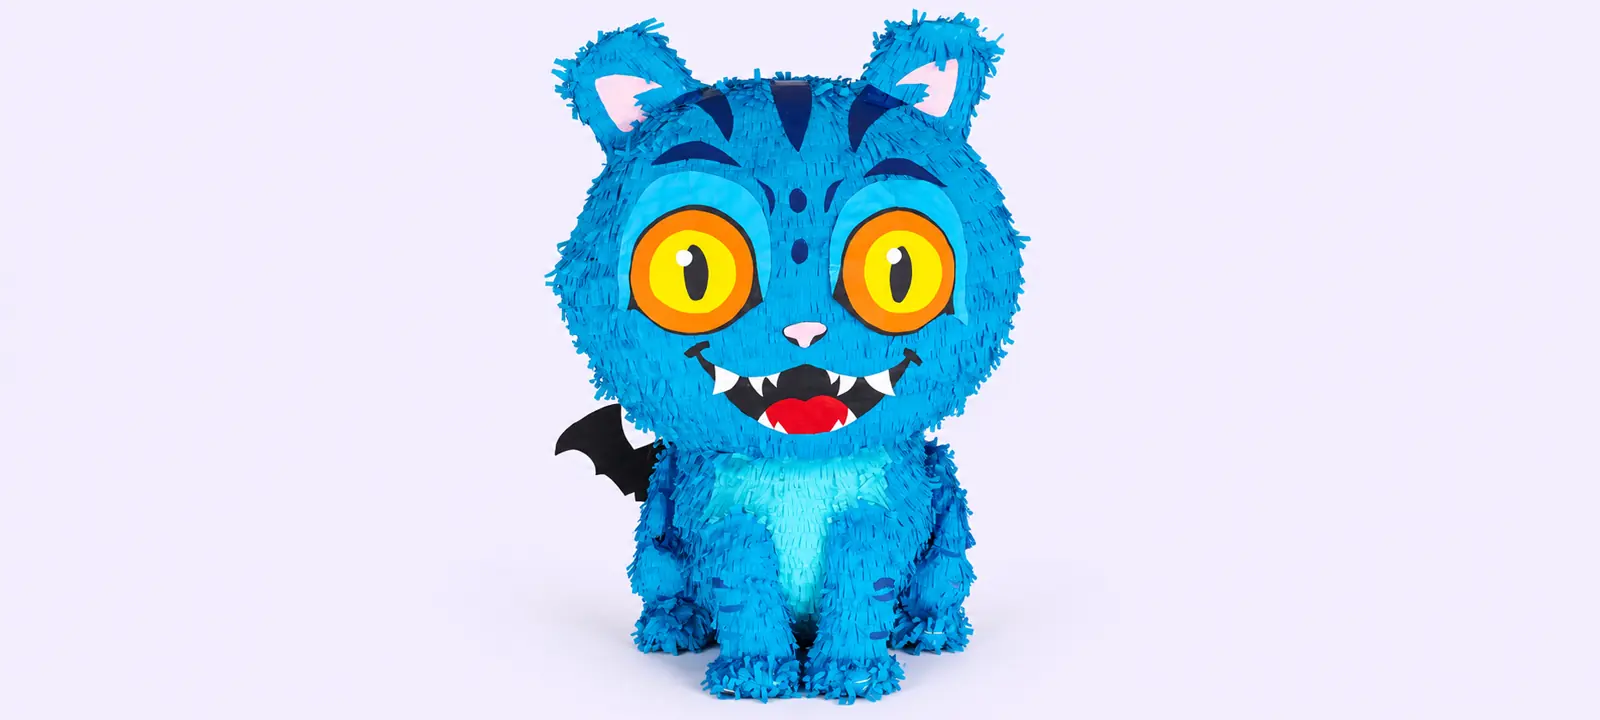
A big piñata made from cardboard, newspaper and crepe paper, with a secret trapdoor underneath that opens with a pull cord so all the candy and toys fall out.
Materials
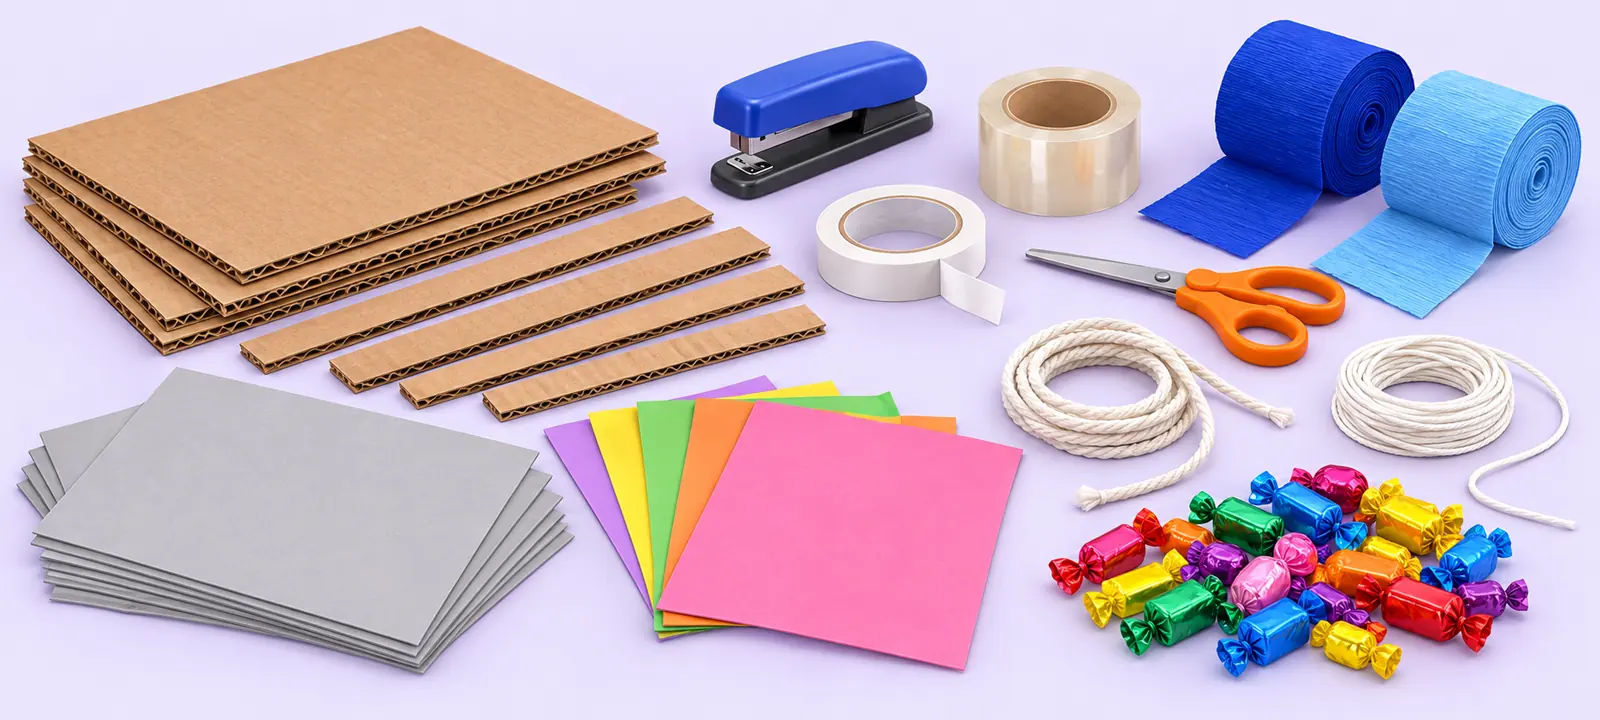
- Large corrugated cardboard (a tri-fold display board works well)
- Stapler and staples
- Scissors, craft knife, ruler and pencil
- Masking tape
- Strong tape (cloth or duct tape)
- Double-sided tape
- Newspaper and white craft glue
- Kraft or white paper for the smooth cover
- Dark blue and light blue crepe paper
- Cardstock in orange, yellow, black, white, pink and red
- Blue metallic paper
- Rope or ribbon to hang it, plus a cord to pull
Cut list and measurements
- Head (about 42 cm tall × 34 wide × 30 deep, egg-shaped): horizontal ring from a 104 × 4 cm strip; front vertical ring from a 123 × 4 cm strip; side vertical ring from a 117 × 4 cm strip.
- Head: 4 diagonal ribs about 60 × 3 cm (trim the extra once curved).
- Body (27 cm tall × 26 wide × 22 deep): horizontal ring 76 × 4 cm; front vertical ring 84 × 4 cm; side vertical ring 78 × 4 cm.
- Body: 4 diagonal ribs of 40 × 3 cm.
- Joining washer: a cardboard ring about 15 cm across with a 10 cm hole in the middle.
- Bottom: a fixed ring 14 cm across and a 13–13.5 cm lid (slightly smaller so it opens without catching).
- Tail: a curved shape 28–32 cm long and 6–7 cm wide.
- Belly: a light blue crepe paper oval of about 18 × 15 cm.
Step 1 of 9
Gather your materials
The frame is cardboard, the shell is newspaper and the fur is crepe paper. Keep three different tapes handy: masking tape for building, strong tape for the trapdoor hinge and double-sided tape to close it.
💡 A tri-fold display board from a stationery shop gives long, even strips that are perfect for the big rings.
Step 2 of 9
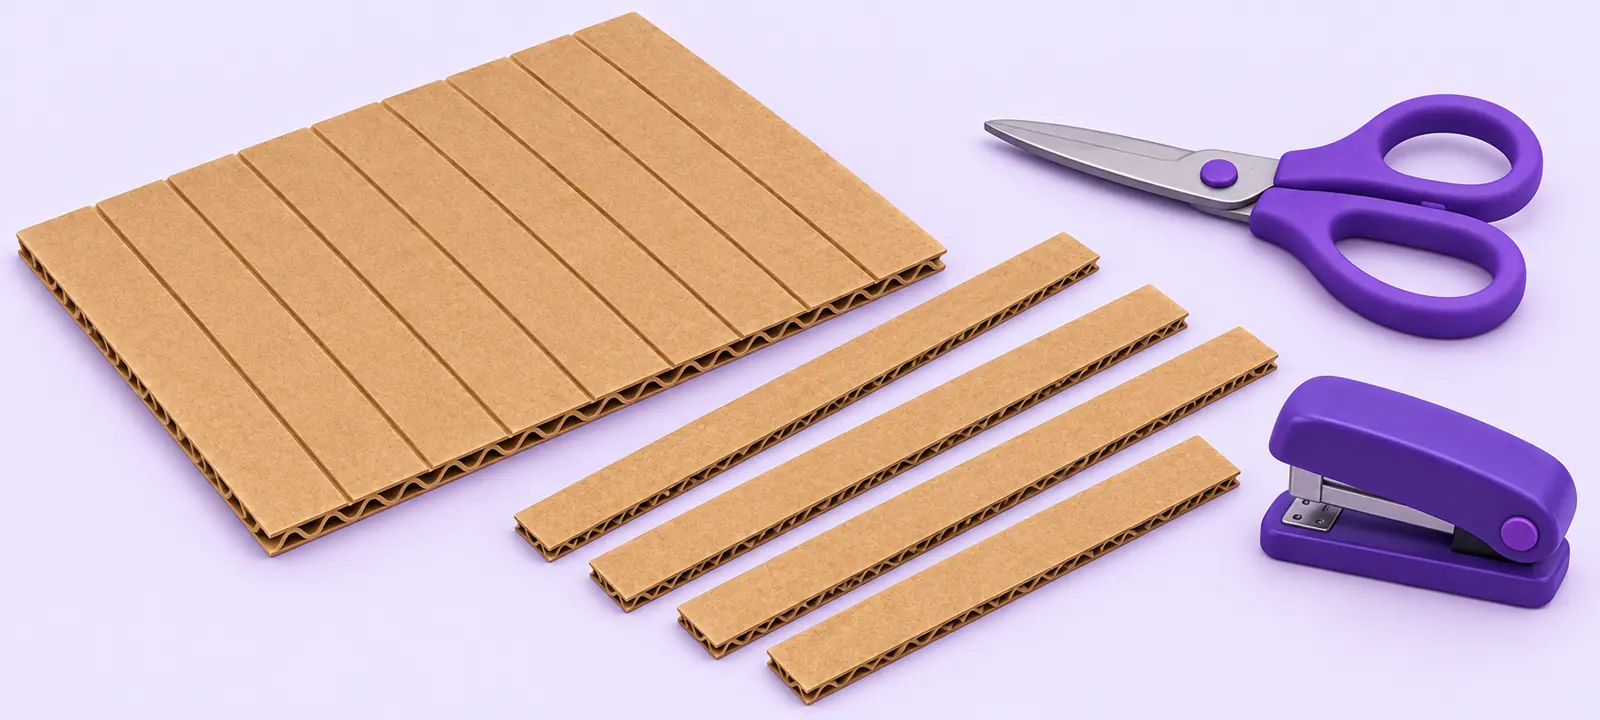
Cut the cardboard strips
Mark parallel lines every 4 cm and cut the strips from the cut list: three long ones for the head rings, three for the body rings, plus the narrower 3 cm ribs.
💡 Cut across the cardboard's flutes so the strips curve smoothly without creasing.
Step 3 of 9
Staple the strips into ovals
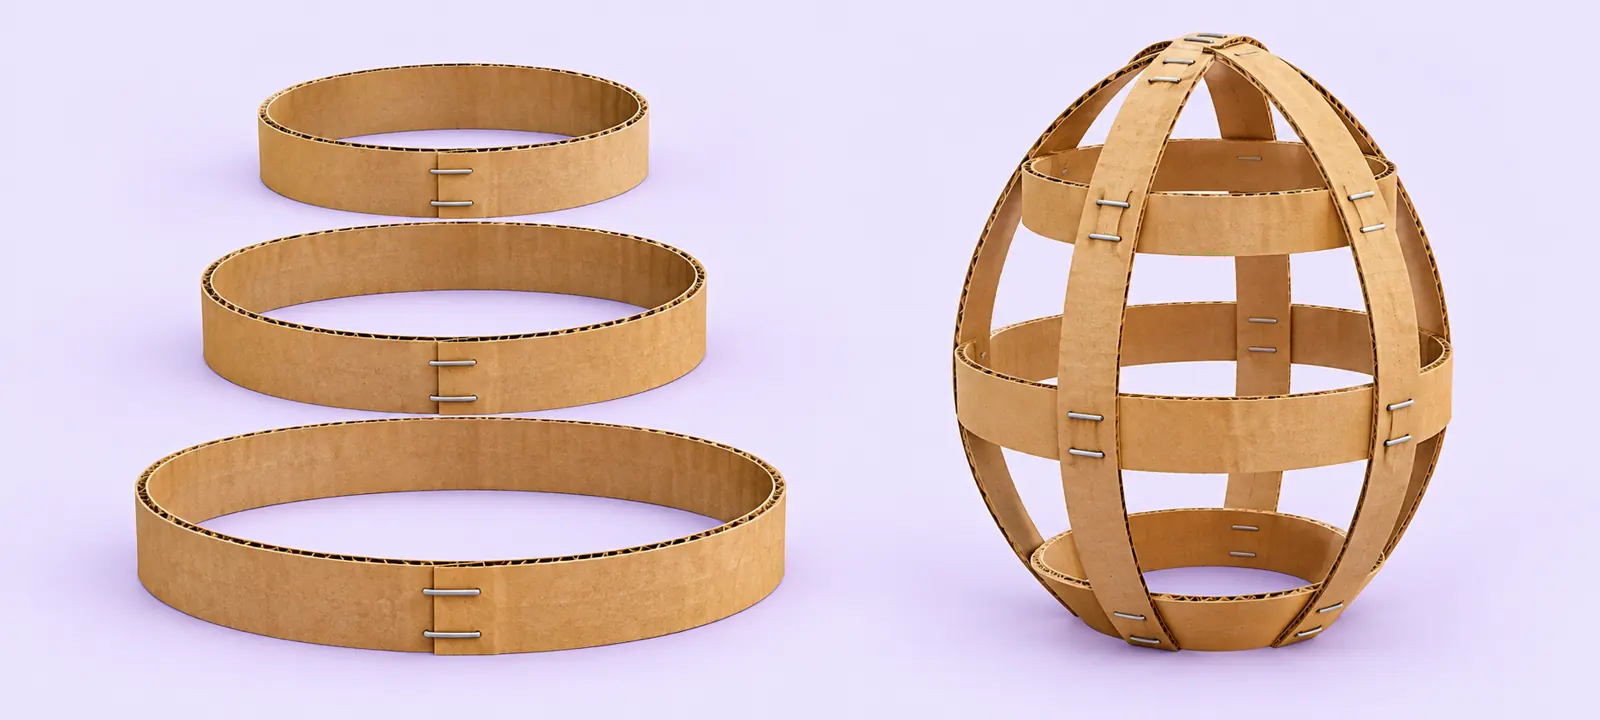
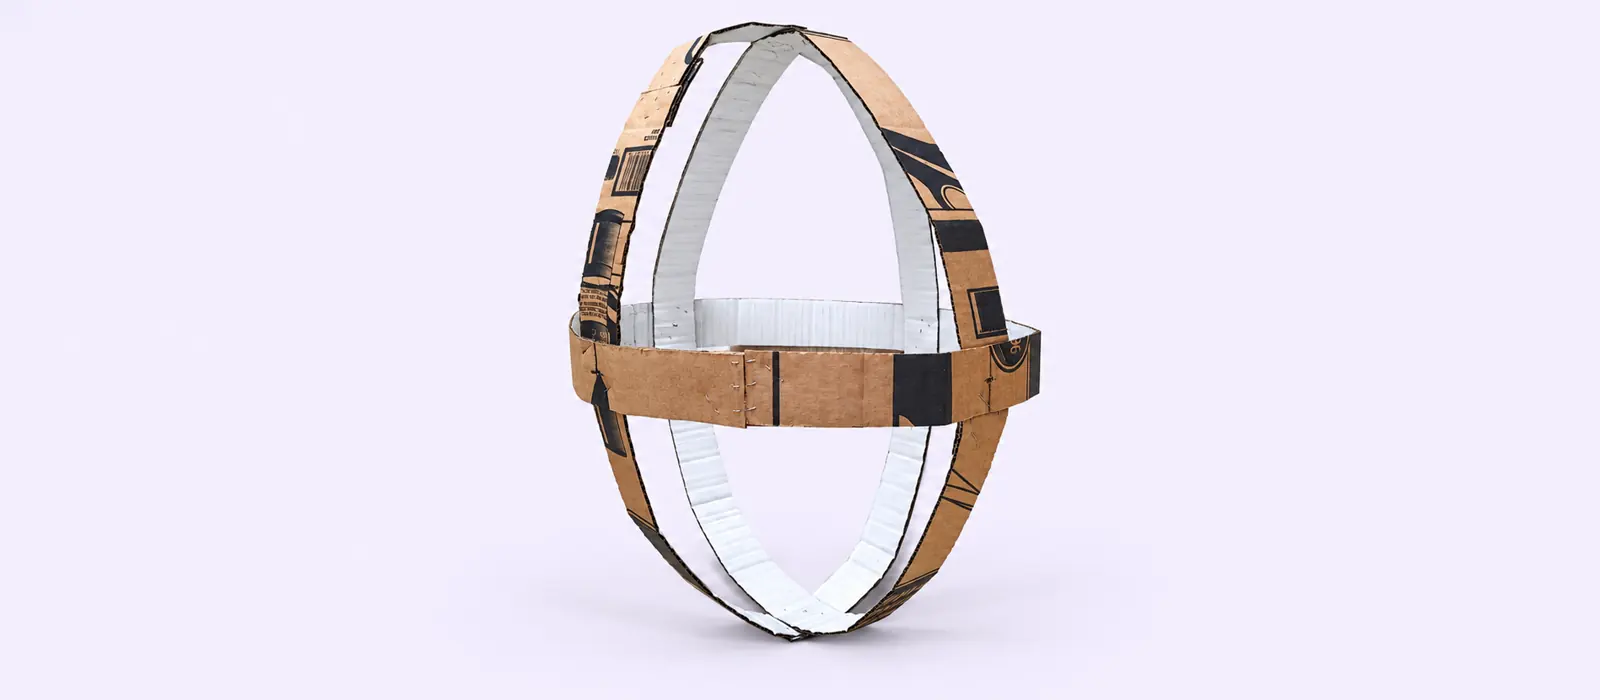
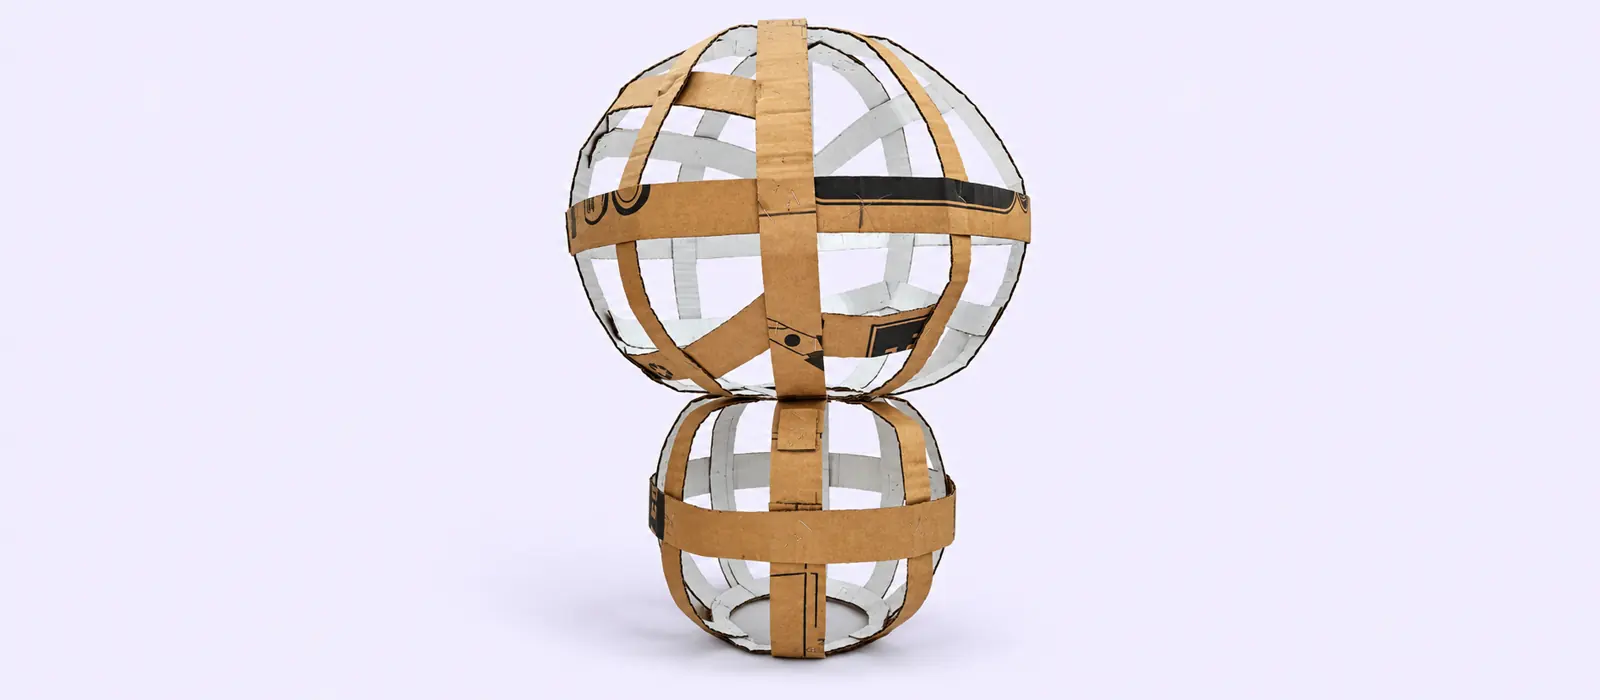
Close each strip on itself with about 3 cm of overlap and staple it into an oval. Make three per piece: a horizontal one like a belt, a front vertical one and a side vertical one. Cross them like the lines on a globe, staple where they meet and add the 4 diagonal ribs. The head ends up egg-shaped and the body shorter and rounder.
💡 Make all three ovals flat on the table first and only then cross them, so you don't mix up rings and ribs.
Step 4 of 9
Join the head and body
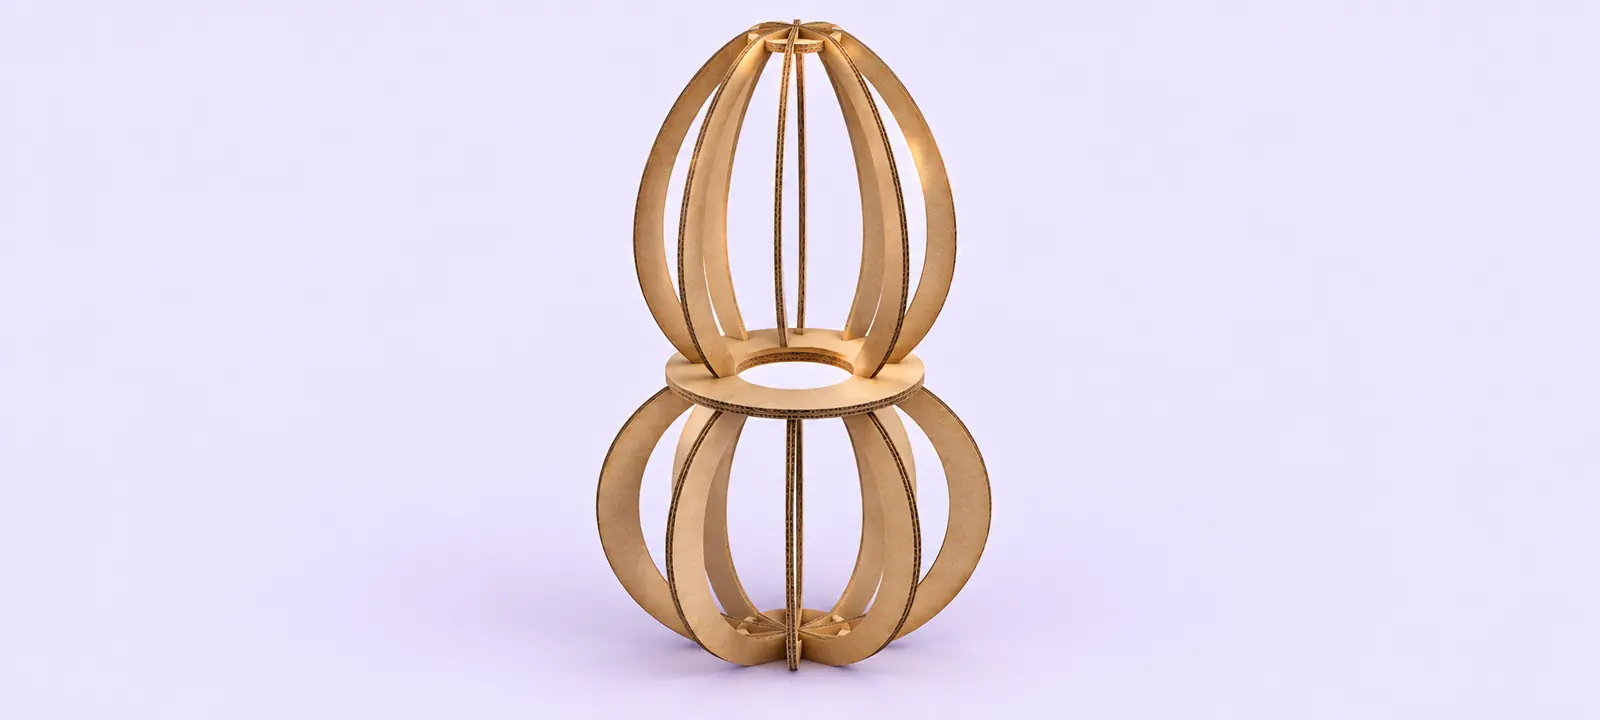
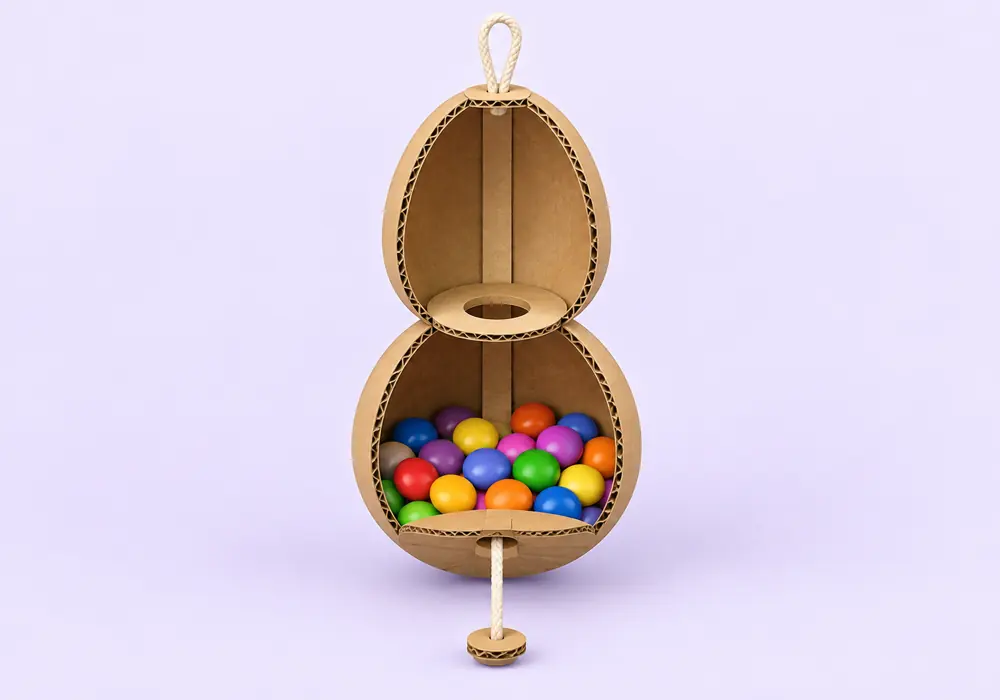
Open a hole of about 10 cm at the bottom of the head and the top of the body. Glue a cardboard washer around each hole and join the two pieces there. This leaves a tunnel between head and body for the candy and toys to fall through.
Step 5 of 9
Secret trapdoor and hanging loop
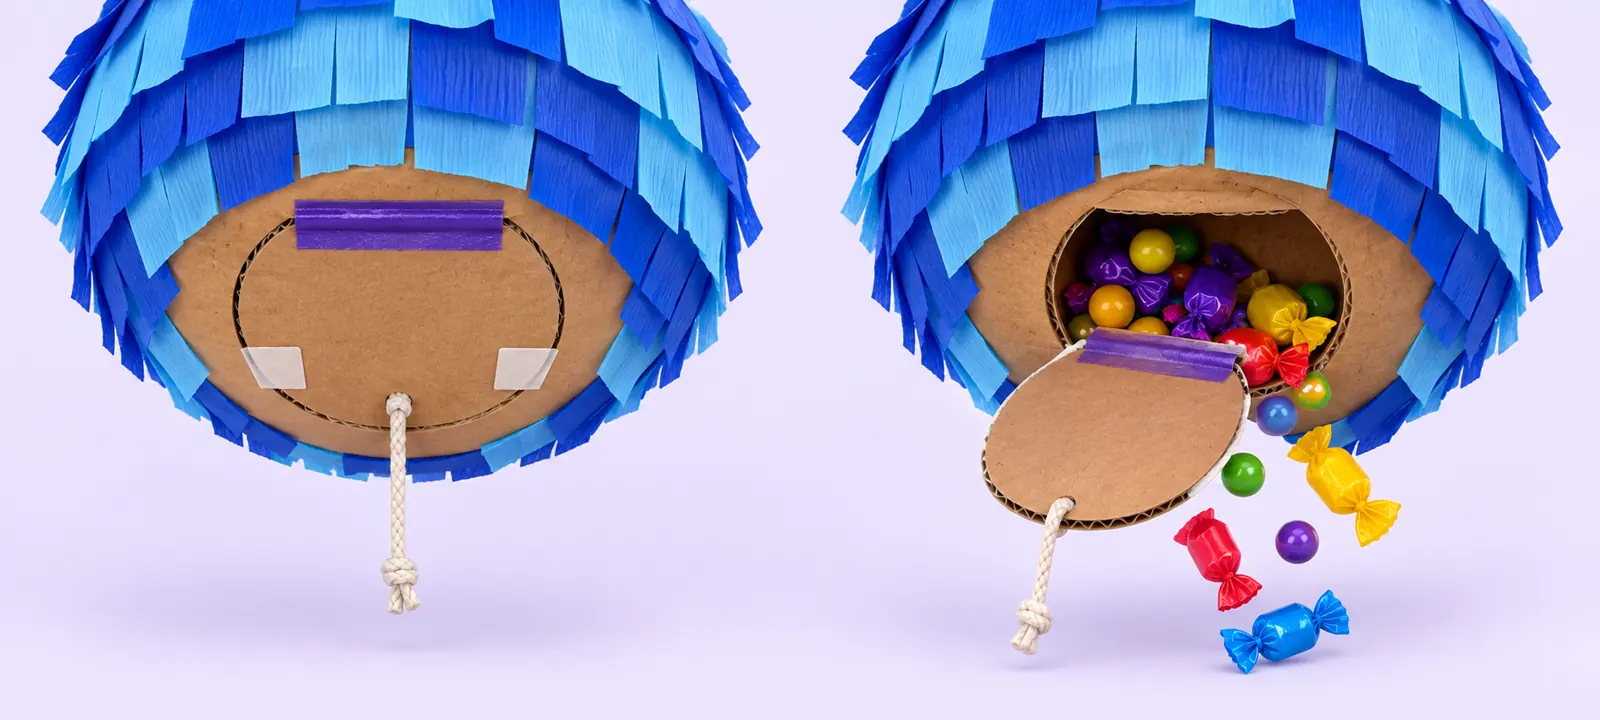
At the bottom of the body leave a fixed 14 cm ring and cut a lid slightly smaller. Tape one side with strong tape as a hinge, and put two strips of double-sided tape on the other side to seal it after filling. Tie a cord to the lid that hangs below: when someone pulls it, the lid opens and everything drops out. On top, thread the hanging loop through where the head strips cross, not just through the paper.
💡 Fill it through the trapdoor just before the party, with no more than 1–1.5 kg, and seal it with the double-sided tape.
Step 6 of 9
Cover with newspaper
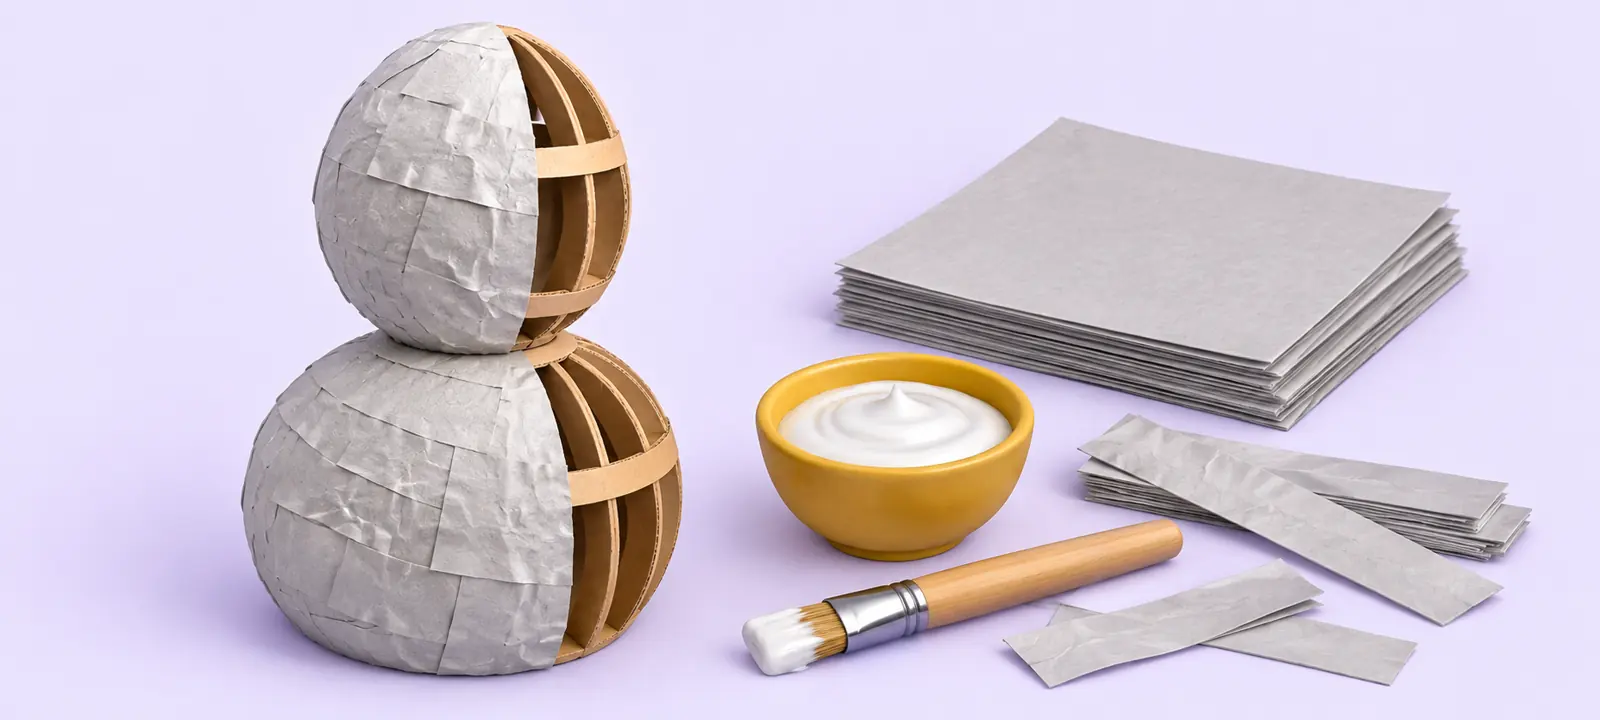
Cover the whole frame with overlapping pieces of newspaper, using watered-down white glue or masking tape. Leave the bottom lid and its cord free. Let it dry well before moving on.
Step 7 of 9
Legs, ears and tail
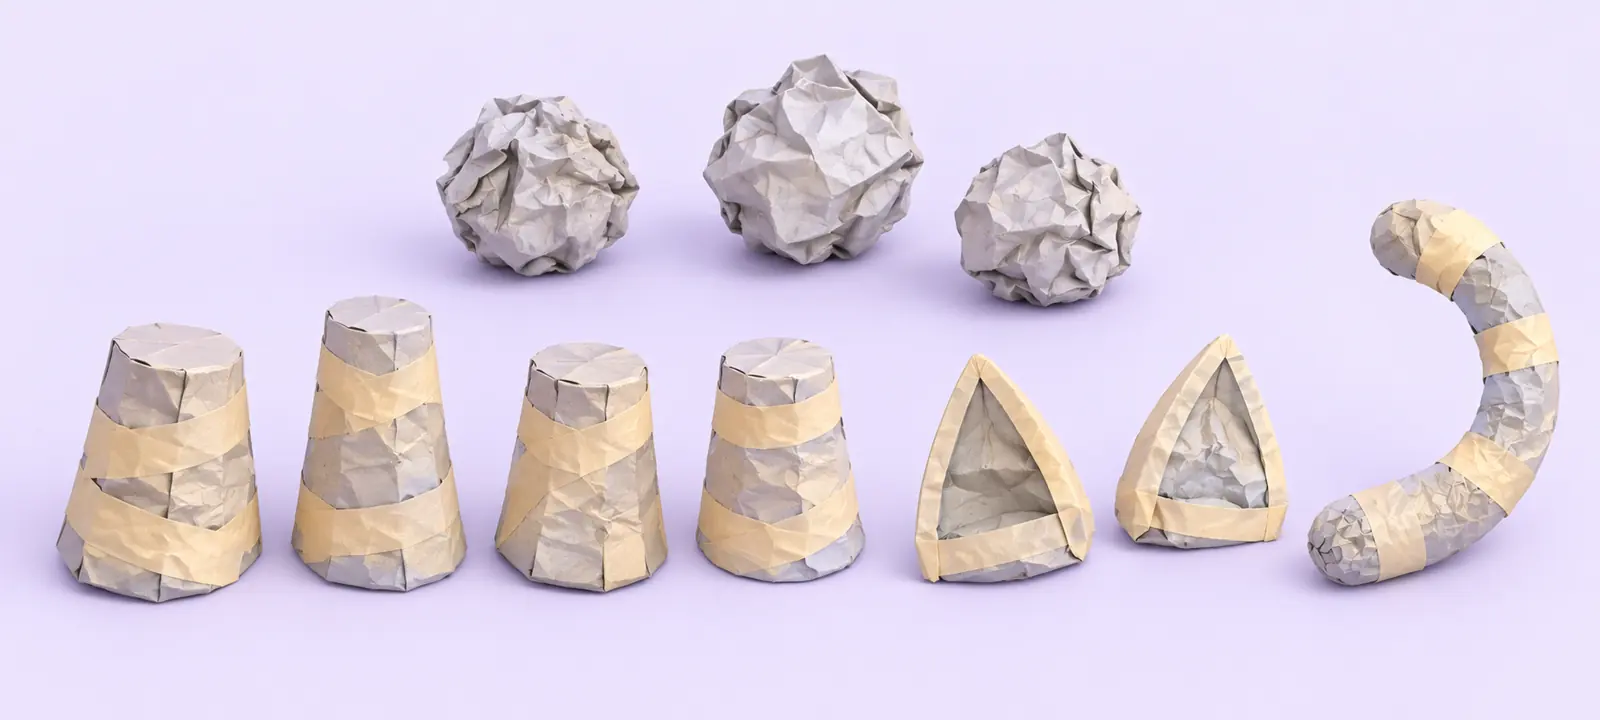
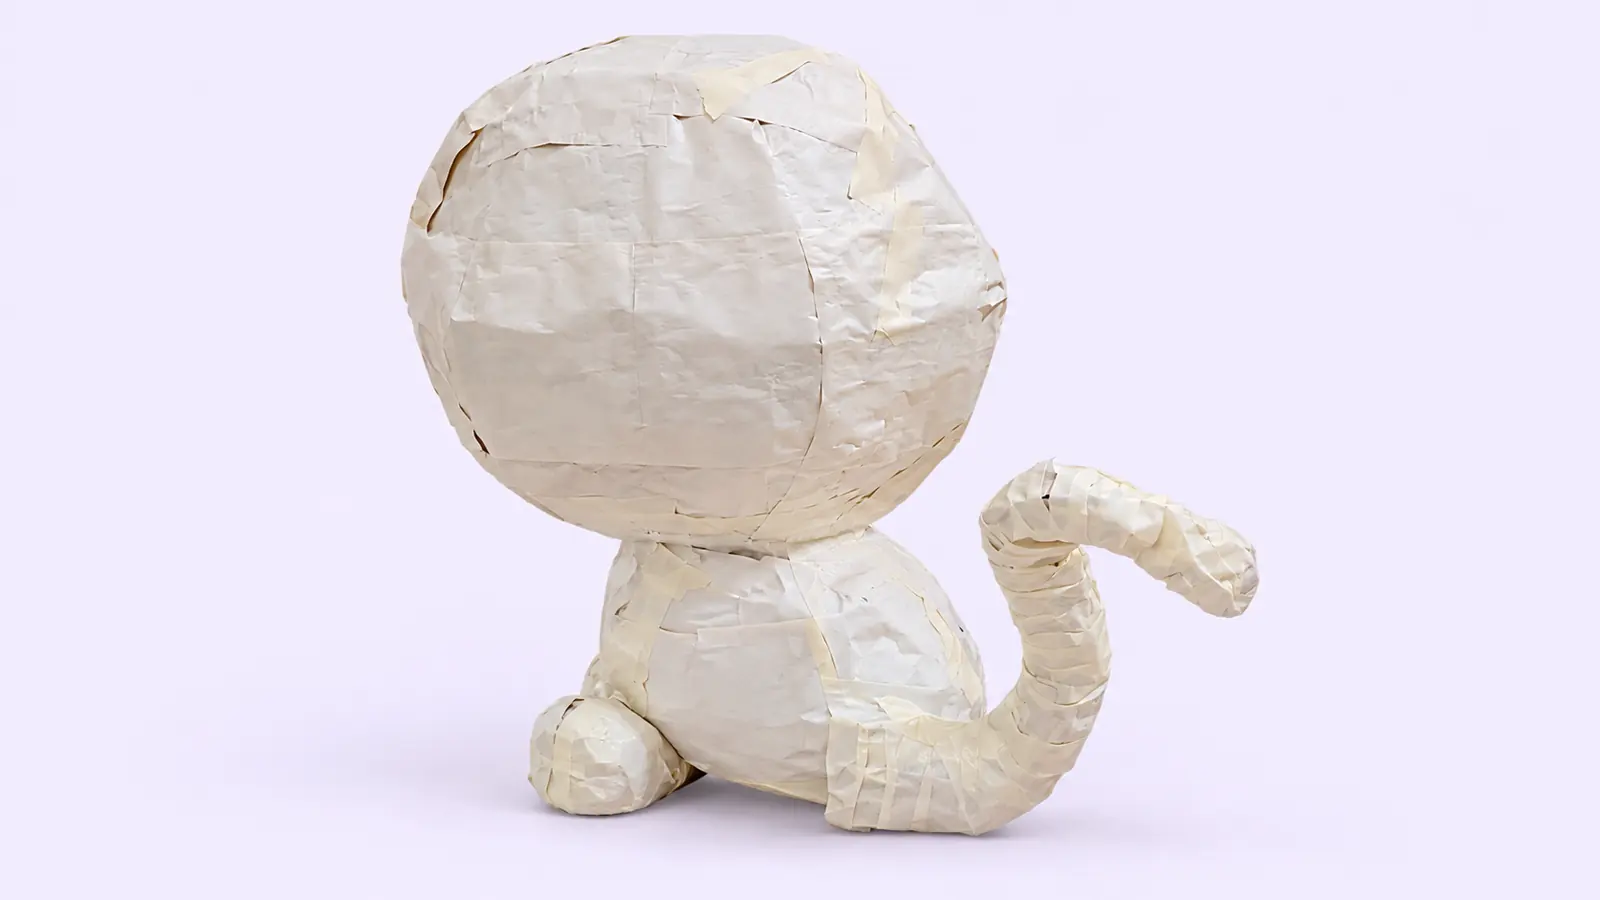
Crumple newspaper into balls to add volume and shape two front legs, two back legs, the ears and the tail. Hold them together with masking tape and attach them to the body. Then cover them with paper so the shapes look smooth and neat.
💡 Mark the ears R and L (right and left) so you attach them the right way round.
Step 8 of 9
Add the crepe paper fur
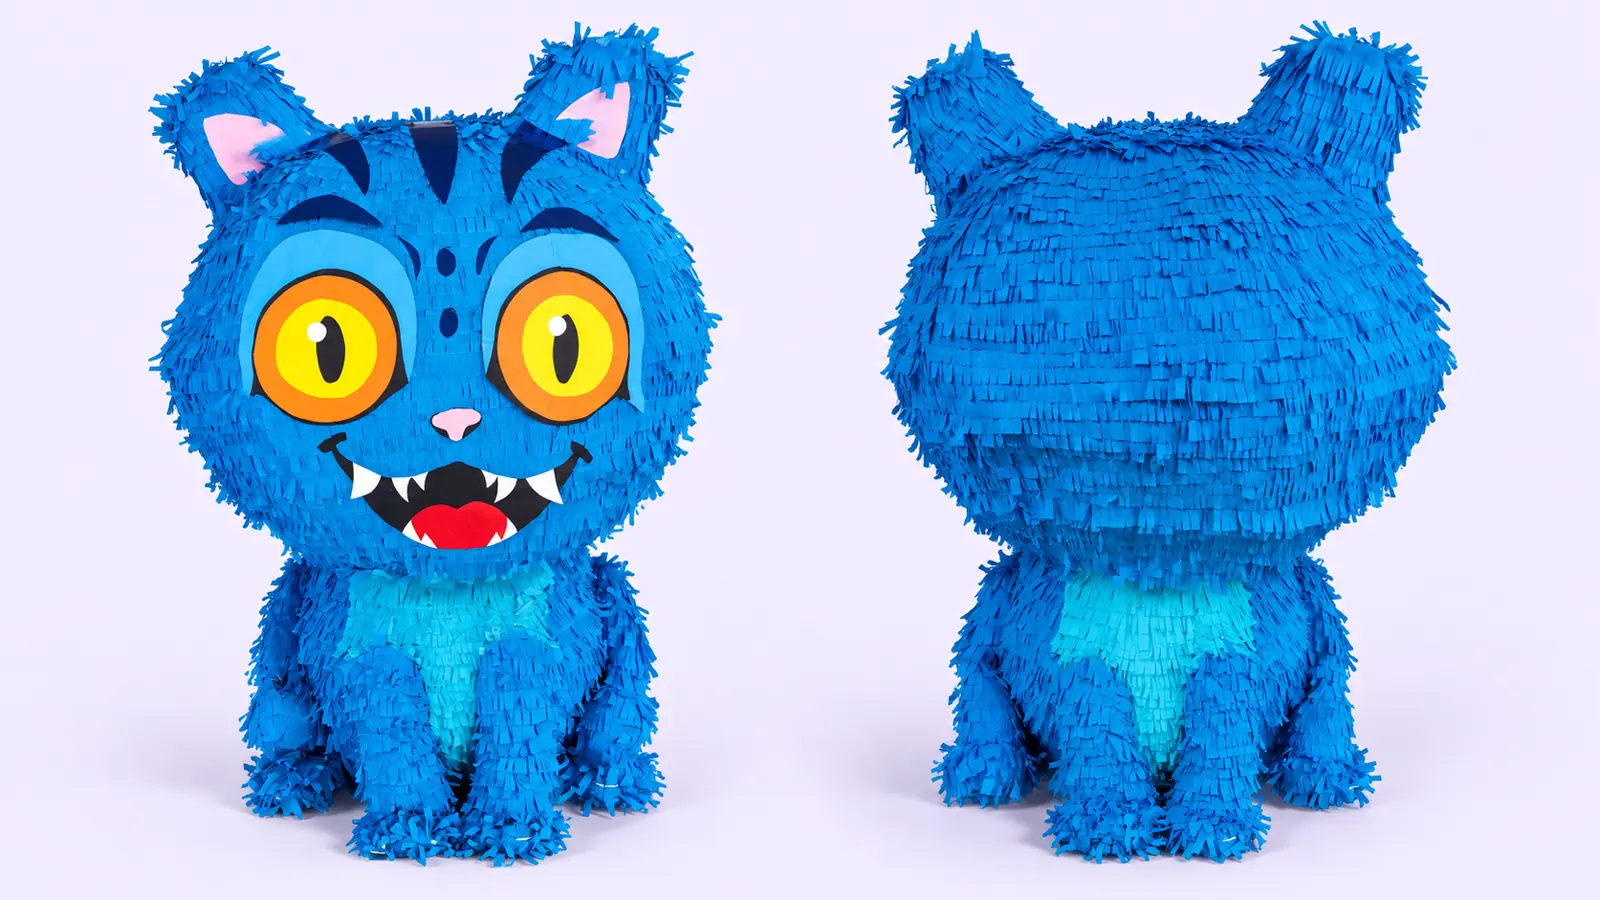
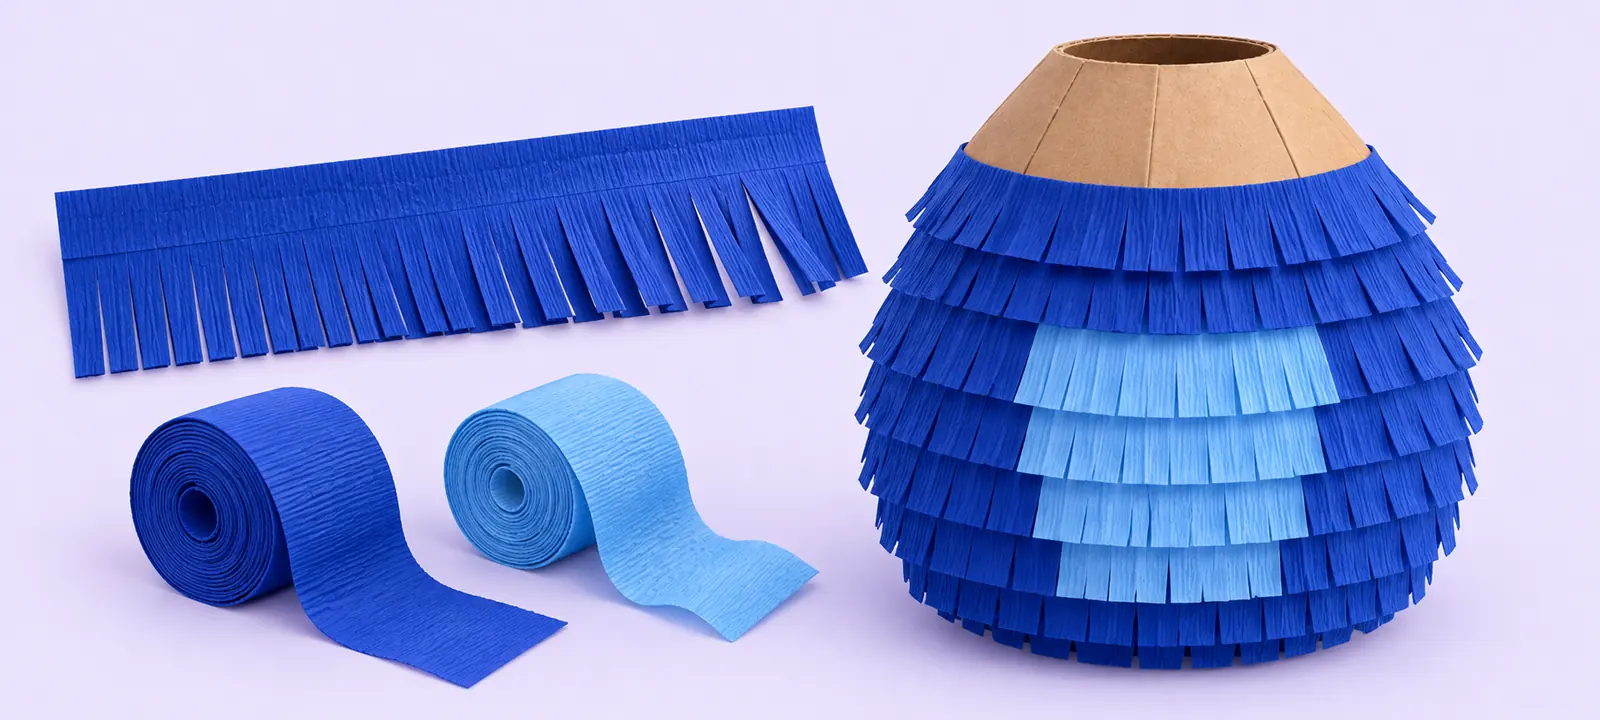
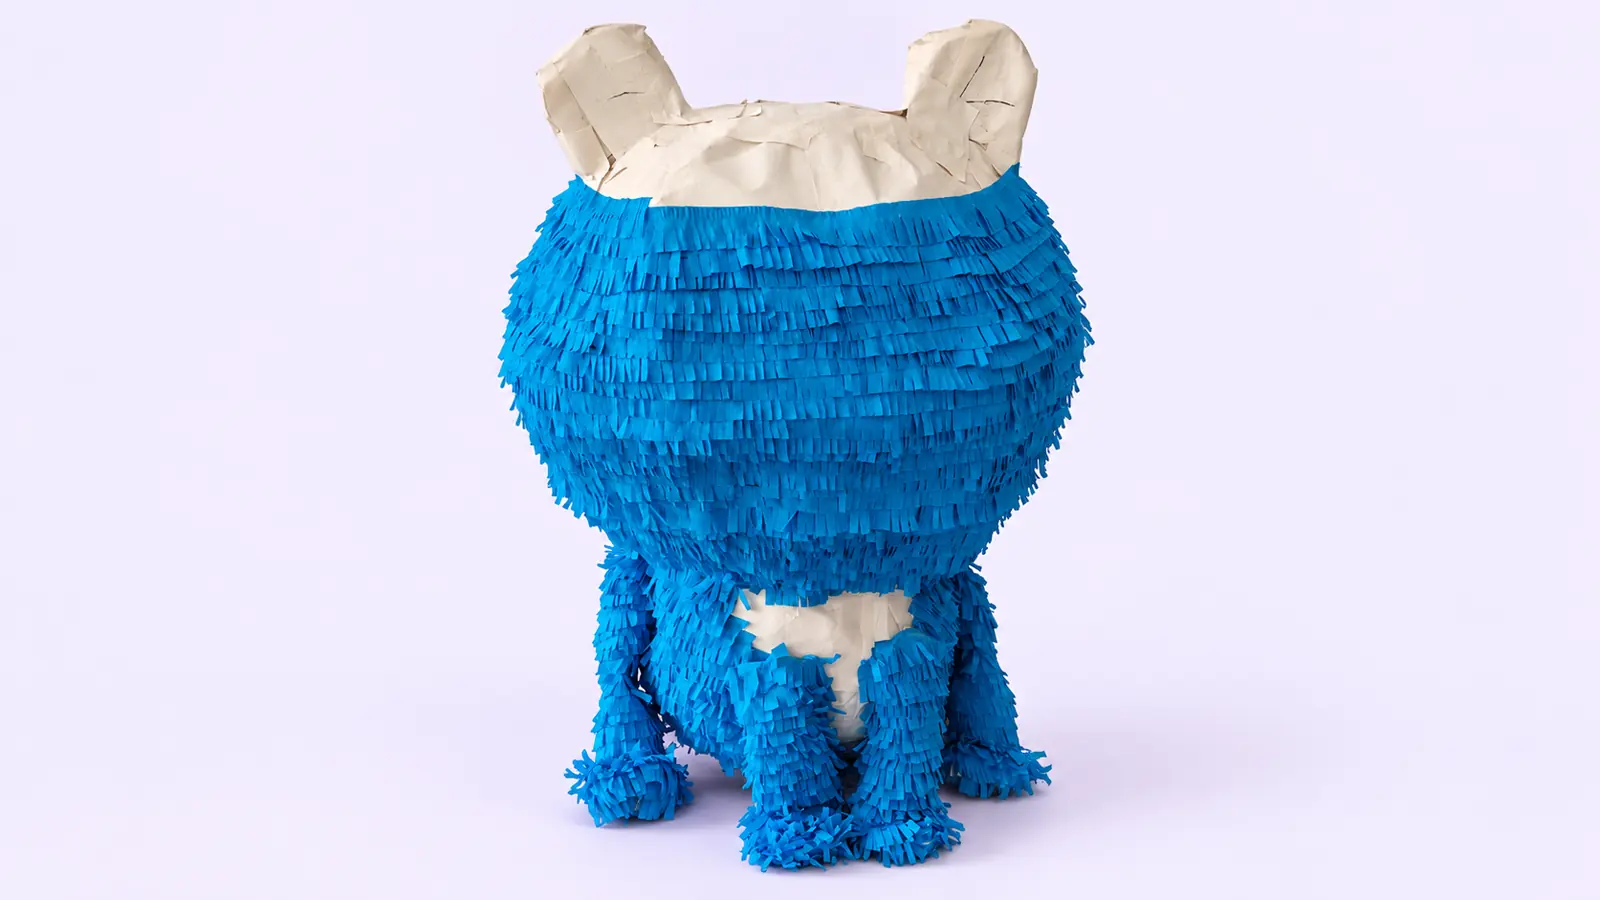
Cut crepe paper strips about 6 cm wide, fold them lengthwise and snip them into a fringe. Glue them in rows from the bottom up, so each row hides the glued edge of the one below. Use dark blue all over the body, head, legs and ears, and light blue on the chest.
Step 9 of 9
Face and details
Cut the eyes from cardstock: orange, yellow and black circles stacked on top of each other, plus a white shine. Also make the pink nose, the mouth with white teeth and a red tongue, and the pink inner ears. The stripes and face markings are blue metallic paper. Glue everything on and get ready to party!
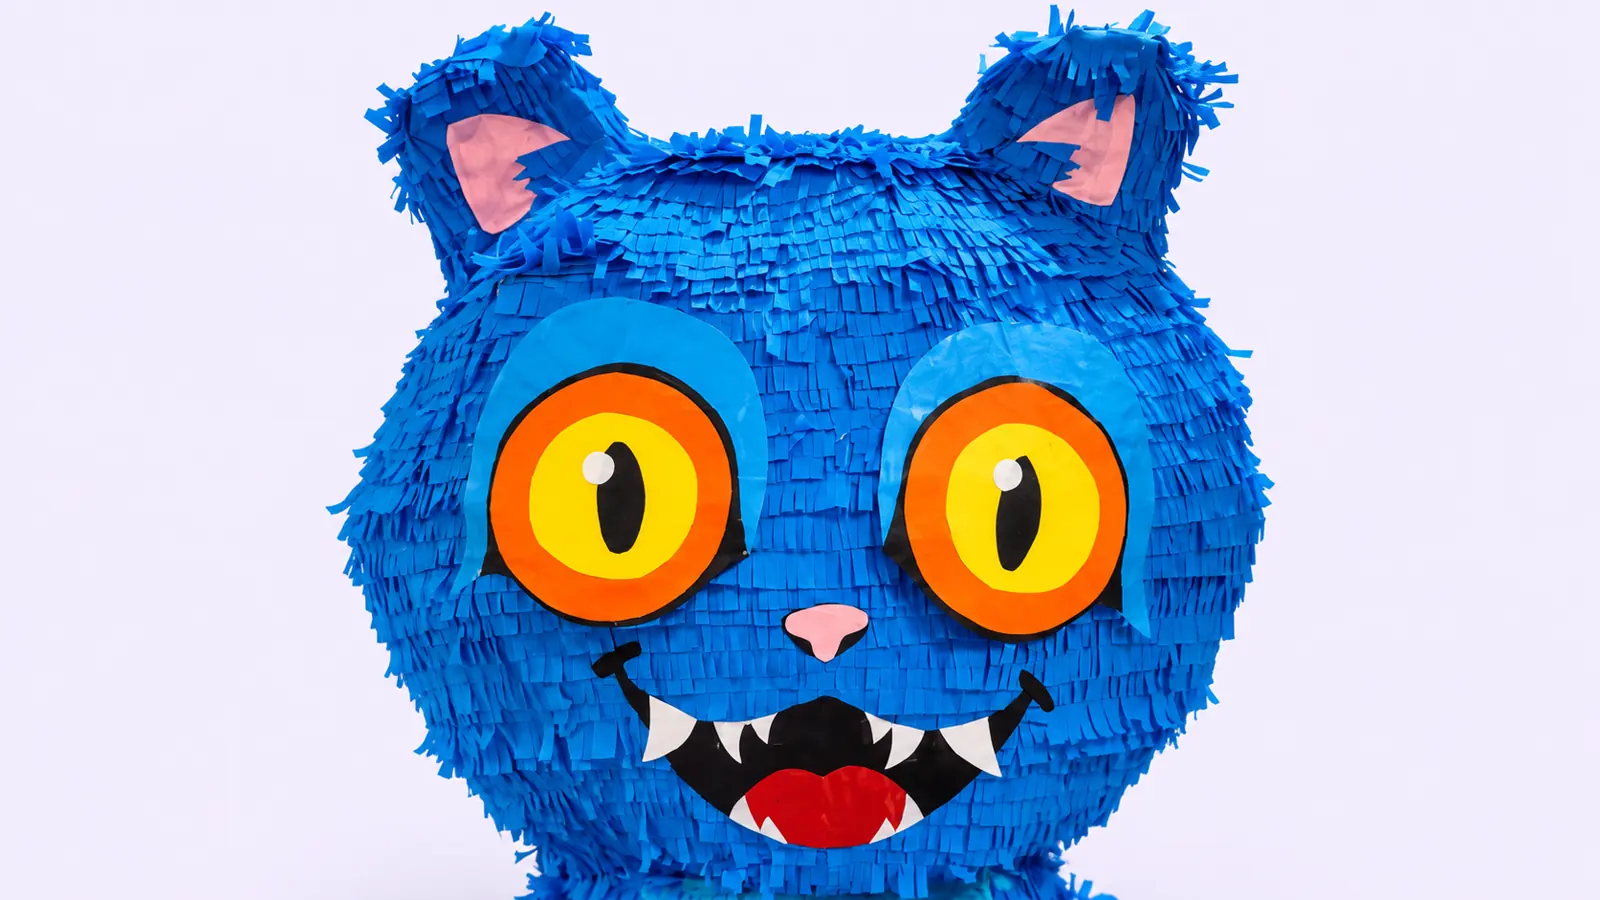
Ready for adventure!
Here's our finished piñata, front and back: dark blue fur, a light blue chest and huge eyes.